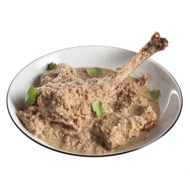
Satsivi
Main Dishes • Georgian
Description
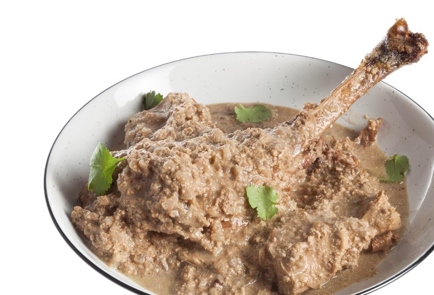
Satsivi is both a sauce and a dish: in the latter case, it is poured over boiled turkey. After a few hours, the meat absorbs the sauce and becomes very tender. In Georgia, satsivi is made quite light. To achieve this, the walnuts need to be peeled. Traditionally, mamaliga is served as a side dish with satsivi.
Ingredients
- Turkey 1 piece
- Walnuts 25 oz
- Onion 0 lbs
- Saffron 1 tablespoon
- Ground coriander 1 tablespoon
- Ground Black Pepper 1 tablespoon
- Ground clove ½ spoons
- Cilantro 1 bunch
- Champagne Vinegar 1 tablespoon
- Garlic 3 cloves
- Salt to taste
Step-by-Step Guide
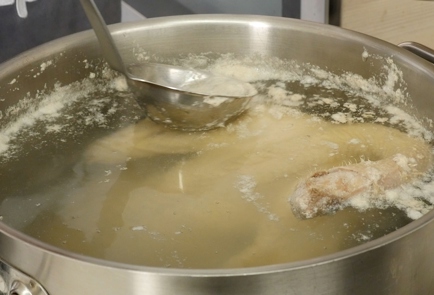
Step 1
Place the turkey in a large pot and cover it with water, ensuring it is fully submerged. Bring to a boil, skim off any foam, and simmer for about an hour. Do not overcook.
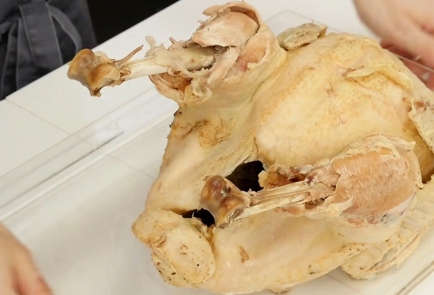
Step 2
Strain the broth and let it cool separately from the turkey. Trim any excess fat from the turkey, as it will be useful later.
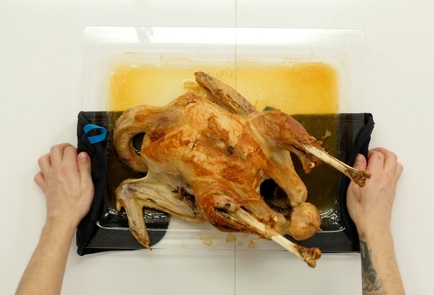
Step 3
Preheat the oven to 355°F, place the turkey inside, and put a container of water at the bottom of the oven to help keep the meat juicy. Roast for one hour or until the turkey is golden brown.
Step 4
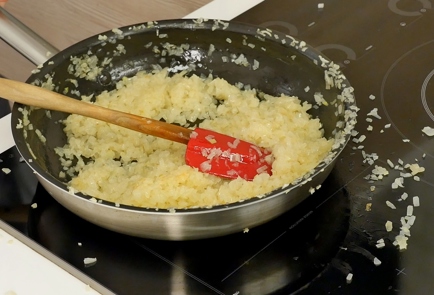
Melt the turkey fat in a skillet and sauté the chopped onion until it turns lightly golden.
Step 5
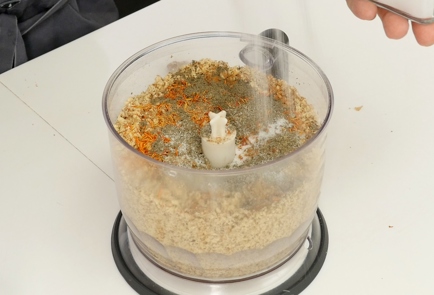
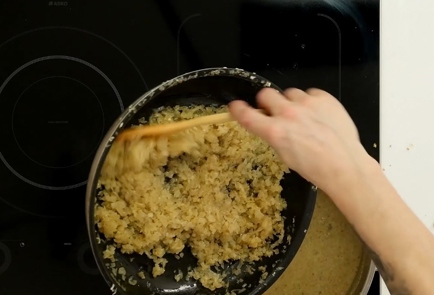
Grind the walnuts into a powder with saffron, black pepper, coriander, cloves, cinnamon, and salt.
Step 6
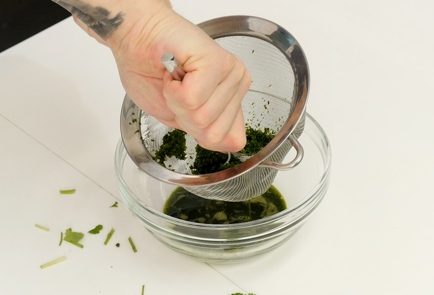
Blend the cilantro with a small amount of water, just enough to help the blender do its job. Then strain this green mixture through a sieve or cheesecloth. Only the juice is needed.
Step 7
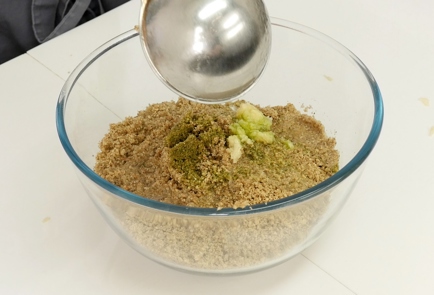
Add the cilantro juice to the nut mixture and mix well. In a mortar, crush the garlic with salt, then add it to the nuts along with a ladle of broth and stir.
Step 8
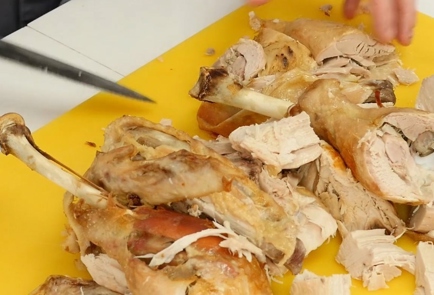
Cut the turkey into equal portions.
Step 9
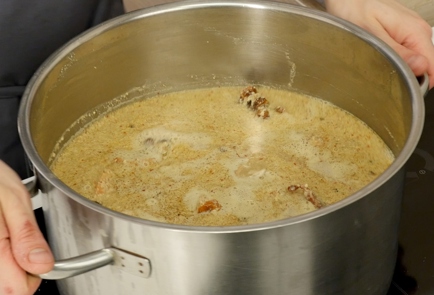
Bring one and a half to two liters of broth to a boil, gradually add the nut mixture while stirring with a wooden spoon, then add the onion, continuing to stir, and finally add the turkey.
Step 10
Bring to a boil, add vinegar, let it simmer for another 5 minutes over low heat, taste for salt, and add more if needed. Then remove from heat, let it cool, refrigerate, and serve the next day.
Step 11
Then remove from heat, allow to cool, store in the refrigerator, and serve the next day.
Cooked This Dish? Share Your Creation!
Snap a photo and let your culinary masterpiece inspire others.
Users Photos
No photos yet. Be the first to share!
