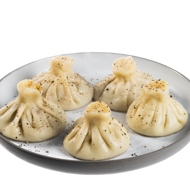
Khinkali
Main Dishes • Georgian
Description
The taste of khinkali greatly depends on the quality of the water in the filling. Therefore, it is better to use good mineral water.
Ingredients
- Wheat Flour 20 oz
- Water 15 fl oz
- Salt 1 ½ spoons
- Veal 10 oz
- Beef 10 oz
- Lard 5 oz
- Onion 5 oz
- Garlic 2 cloves
- Ground Cumin to taste
- Mild Chili Spice to taste
- Cilantro to taste
Step-by-Step Guide
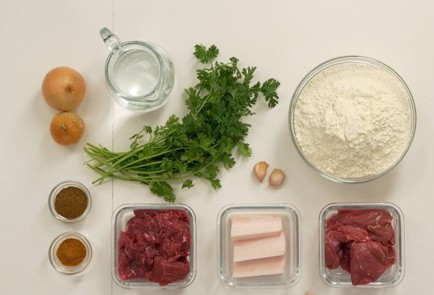
Step 1
Prepare the necessary ingredients.
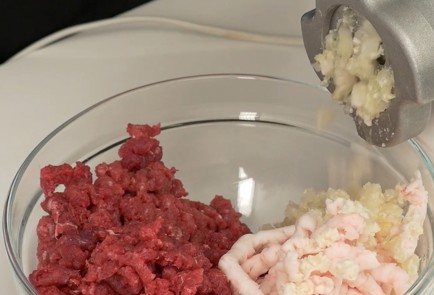
Step 2
Pass the trimmed meat, either brisket or the hindquarter of a young animal, through a meat grinder. Then add the fat, finely chopped onion, and garlic.
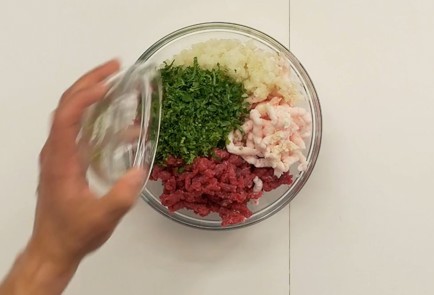
Step 3
At the end, mix in water—enough for the meat to absorb without separating into a meat and water layer. For half a kilogram of meat, about 150 ml should be sufficient. You can add salt, cumin, hot pepper (which can be made at home), and cilantro to taste.
Step 4
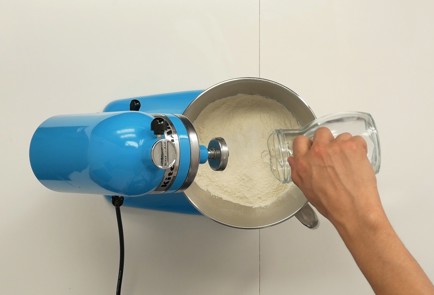
Knead the dough using flour, salt, and 250 ml of water (it's better to start with 200 ml and add another 50 if the dough doesn't come together) — it should be quite dense and firm. It will be difficult to knead and roll it out by hand, so if you have a dough mixer and especially a pasta machine, they will make the process much easier. The dough can be stored in a cool place for no more than an hour, after which it starts to rapidly lose its desirable qualities.
Step 5
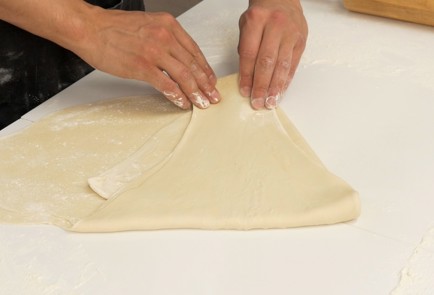
The success of your future khinkali depends on the number of layers in the dough: ideally, there should be about twenty. To achieve this, roll out the dough with a rolling pin to a thickness of about 1 centimeter. Then, continue to roll and fold it, sprinkling with flour every other time, repeating this process at least 10 times. The result should be a layered sheet that is 3 mm thick.
Step 6
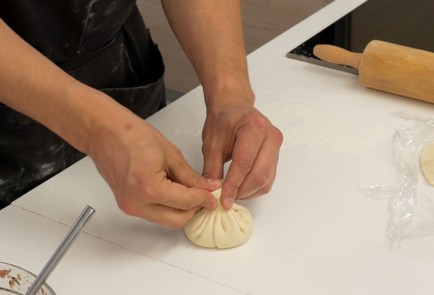
The filling should be prepared in advance, as once the sheets of dough are ready, you need to wrap the meat in them immediately to prevent the dough from drying out. Place a small ladle of filling, about 40 grams, in the center of each sheet. If any water has separated from the filling, make sure to mix it well again until smooth before placing it on the dough.
Step 7
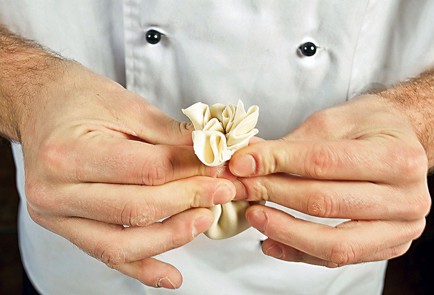
Fold the edges of the dough into pleats as tightly as possible. Ideally, a perfect khinkali should have nineteen folds. Hold the gathered pouch in one hand, while using the other hand to twist it in the same direction as the folds were made, and tear off any excess dough—this will create a firm top on the khinkali. Place the khinkali on a board to form a flat bottom, making it easier to bite into later.
Step 8
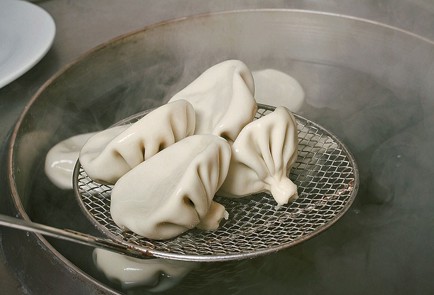
Using a spatula, create a whirlpool in a large pot of vigorously boiling water, add salt, and drop in about a dozen khinkali. Stir the pot again to maintain the whirlpool effect. This technique prevents the khinkali from sticking to each other or to the bottom of the pot. Cook until the khinkali float to the surface with their bellies up, plus an additional two to three minutes, for a total of about ten minutes. Carefully remove them with a slotted spoon.
Step 9
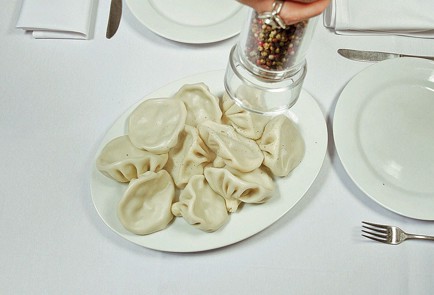
The catch is arranged on a plate. Typically, a quantity that is a multiple of ten is boiled, and each subsequent portion is prepared fresh. The final touch before the meal begins is sprinkling the still-warm, steaming khinkali with freshly ground black pepper, which immediately releases their proper essence. The meal is started right away.
Step 10
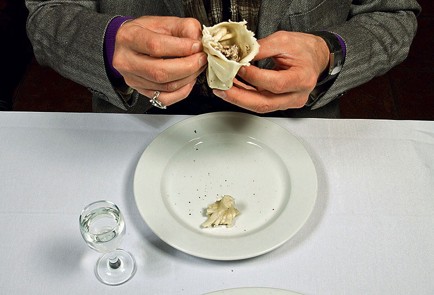
Khinkali are eaten by hand: using a fork will pierce the dough and the broth, the very essence of the khinkali, will spill onto the plate. You should hold the tail with one hand while the other supports the edges; take a bite from the top side and slurp the broth. Then, eat by biting the dough and meat in equal portions, ensuring a piece of meat always rests inside the dough pocket. At the end, the number of consumed pieces is counted by the tails.
Cooked This Dish? Share Your Creation!
Snap a photo and let your culinary masterpiece inspire others.
Users Photos
No photos yet. Be the first to share!
